Upgrade AgentX
Note: If you are testing an installation in a development environment you may also want to see Publishing a new version of AgentX.
Step 1 Login
Login to the AWS console.
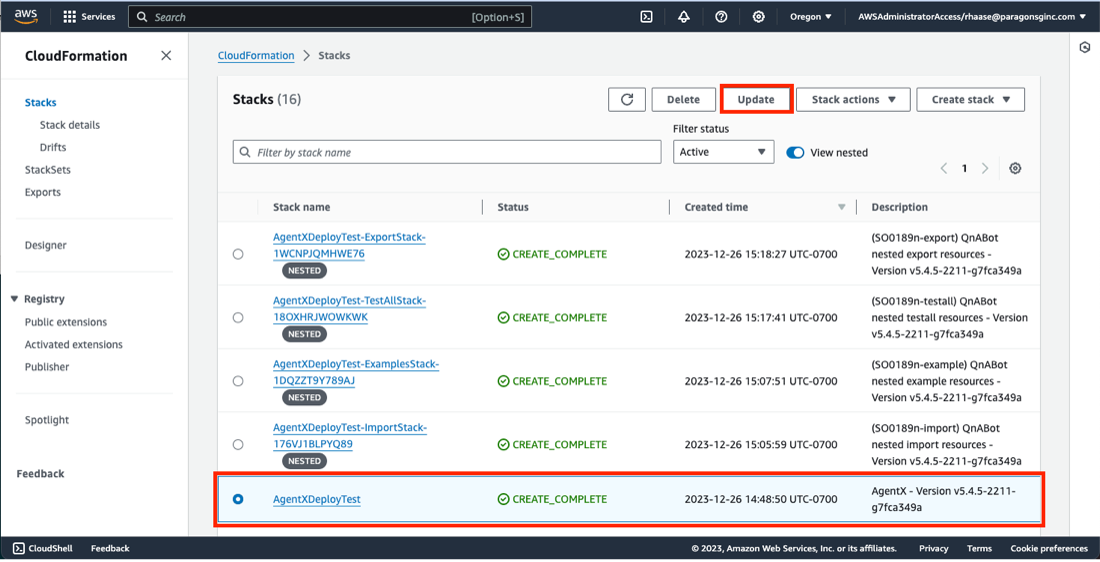
Step 2 Update
Navigate to the CloudFormation service and locate the stack you want to upgrade, select the stack, and click ‘Update’. Example: ‘AgentXDeployTest’.
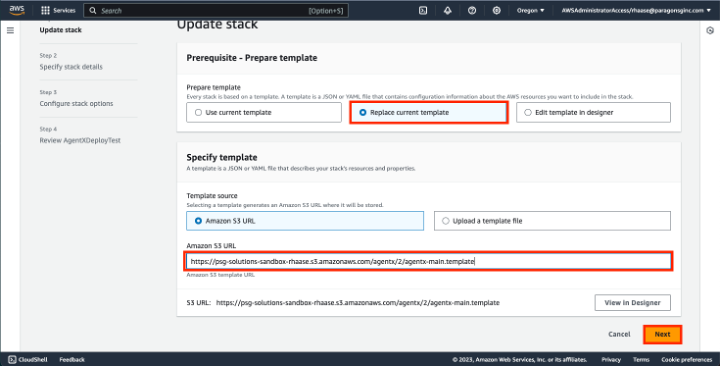
Step 3 Replace Template
On the ‘Update Stack’ page select ‘Replace current template’, add the ‘Amazon S3 URL’ for the new version of the AgentX CloudFormation template, and click ‘Next’.
Step 4 Click Next
There is nothing else you need to change to perform an upgrade. Click ‘Next’ through the next two pages unless you have configuration settings for AgentX or the CloudFormation stack that you want to make.
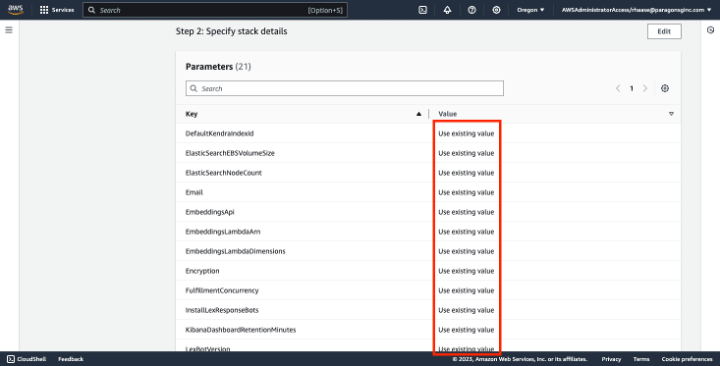
Step 5 Specify Stack Details
On the review page under the ‘Step2: Specify stack details’ section you will see the changes to any configuration values you made. The example image shows no changes.
Step 6 Preview Changes
You can also see a preview of the changes CloudFormation will make under the `Change Set Preview’ section.

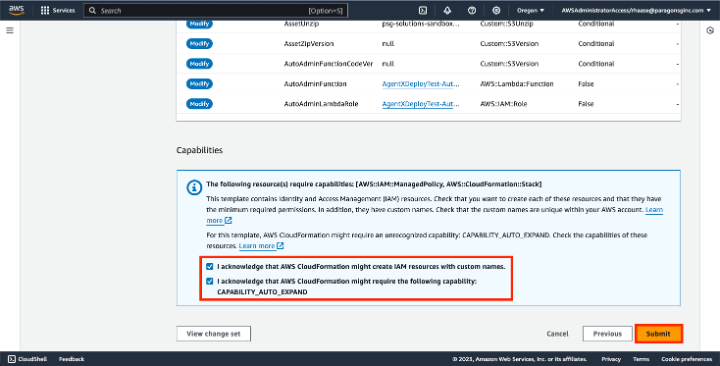
Step 7 Submit
At the bottom of the page check the required acknowledgement boxes and click ‘Submit’.
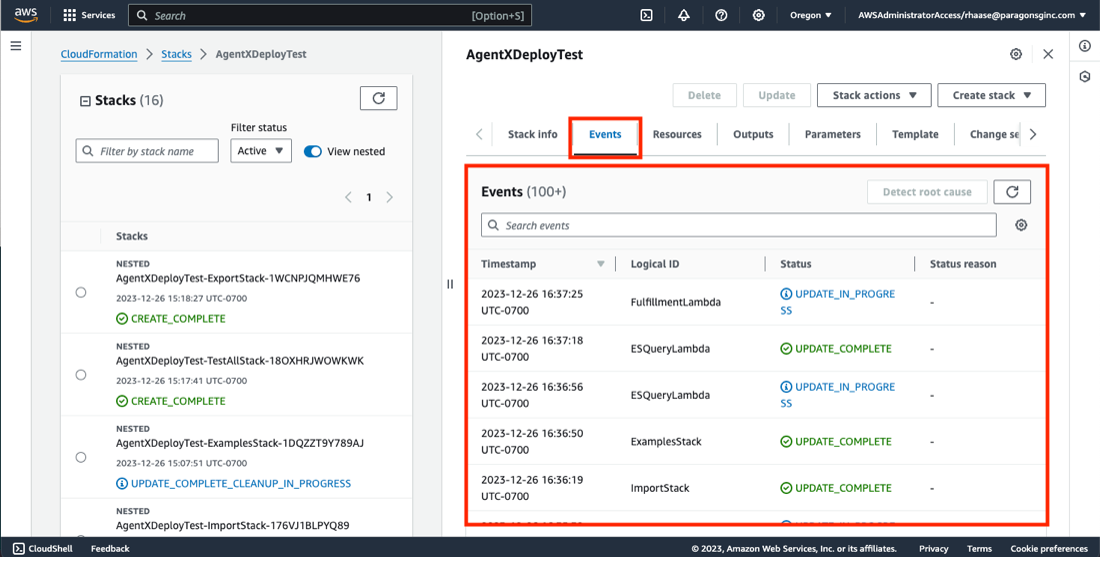
Step 8 Follow your Progress
Once your CloudFormation job has been submitted you can watch the progress of the deployment by following the events logged in the events tab.
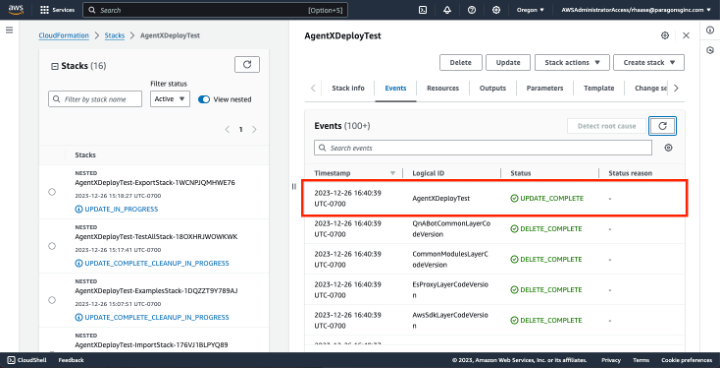
Step 9 Wait
Wait for the CloudFormation stack to finish deploying. You will be able to tell because the stack will be marked ‘UPDATE_COMPLETE’. NOTE: When the CloudFormation stack is finished deploying you will find useful information about the installation in the ‘Outputs’ tab.
Step 10 Congratulations!
Proceed to the Post-Installation Configuration. NOTE: Any configurations that existed prior to the upgrade will be retained after the upgrade. You will only need to add configurations for new features if you want to use them.